Search Forum
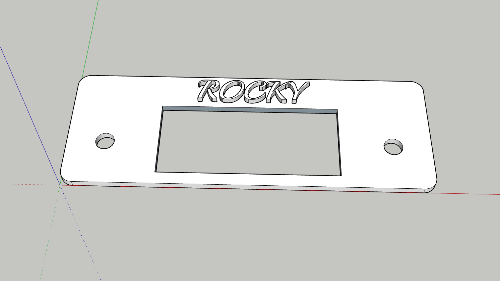
"Rocky" - 1981 F250 Restoration

1 ...
10111213141516
... 24

1 ...
10111213141516
... 24
Re: "Rocky" - 1981 F250 Restoration

Administrator
|
Re: "Rocky" - 1981 F250 Restoration
|
|
 I think the support and encouragement is the best part of a forum like this.

Re: "Rocky" - 1981 F250 Restoration
|
Administrator
|
Re: "Rocky" - 1981 F250 Restoration
|
Administrator
|
Re: "Rocky" - 1981 F250 Restoration
|
|
Re: "Rocky" - 1981 F250 Restoration
|
Administrator
|
Re: "Rocky" - 1981 F250 Restoration
|
|

Re: "Rocky" - 1981 F250 Restoration
|
|
Re: "Rocky" - 1981 F250 Restoration
|
Administrator
|

Re: "Rocky" - 1981 F250 Restoration
|
Administrator
|

Re: "Rocky" - 1981 F250 Restoration
|
|
Re: "Rocky" - 1981 F250 Restoration
|
|

Re: "Rocky" - 1981 F250 Restoration
|
Administrator
|
Re: "Rocky" - 1981 F250 Restoration
|
|
Re: "Rocky" - 1981 F250 Restoration
|
Administrator
|

Re: "Rocky" - 1981 F250 Restoration
|
|
Re: "Rocky" - 1981 F250 Restoration
|
|
Re: "Rocky" - 1981 F250 Restoration
|
|
Re: "Rocky" - 1981 F250 Restoration
|
|
Re: "Rocky" - 1981 F250 Restoration
|
|