Threw another gallon of coolant in the radiator today which just about filled it. No telling how much is in there now but I ran it for 15 minutes and it stayed in the "low" section of the normal temp range, which is what I'd expect for a 50 degree day. So I'm sure I have SOME air to bleed but I have a working cooling system, at least.
Do you guys run an inch or two of coolant in the overflow tank or leave it empty? Not sure what the standard procedure is here. I have an aftermarket wiper/overflow tank, the one where the tube comes in the bottom port now, not a tube just hanging over the top edge, if that changes anything.
More important, I need some advice. Even bad or completely wrong advice.

While the engine was running I decided to explore my high idle a little bit more. Again, I have the info now on adjusting this Holley Street Warrior carb but I'm reluctant to do that yet because I feel like this is a new issue, something I may even have caused myself. I don't remember it doing this when I bought it (idling around 2000rpm no matter how warmed up it is) and the engine was recently rebuilt (by the same shop that installed the carb) - I can't imagine they had something so basic adjusted so wrong from the get-go. So I'm looking at every other possible cause first.
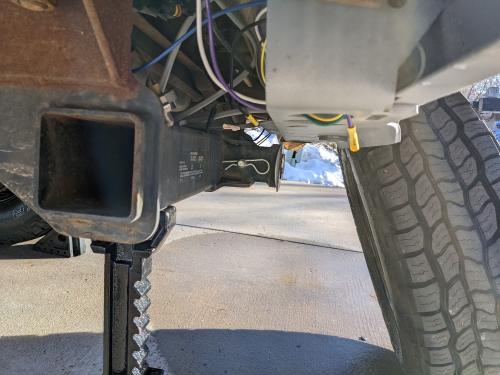
I took a better pic of my throttle cable bracket, under my air cleaner:

If I take a pair of pliers and push left / counter-clockwise where I've drawn the arrow, the idle comes down. My PCV tube used to impinge on the throttle cable around this area but I fixed that by rotating it a bit so it has about a 1/4" gap - hard to see, but I don't think it's the problem.
I noticed when I do this that there's a mystery screw on a bracket to the left of the throttle cable bracket. You can just see it peeking out to the left of the PCV tube, a vertical red spring. I notice it flexing slightly when I press the bracket left. Not sure what it does or if it could be related.
When my PCV tube WAS impinging on the throttle cable, it was hard for me to rev the engine at all. While trying to, could I have bent something? Everything in this linkage seems pretty stout and I wasn't stomping on the pedal THAT hard, maybe 10lbs of force max. But maybe?
Failing anything obvious I guess my next step is to run the engine a bit with the air cleaner off so I can get a better look at what's going on. Just wondering if any of you had any thoughts, even wild guesses, about "may as well try XYZ". I have nothing to lose...
--
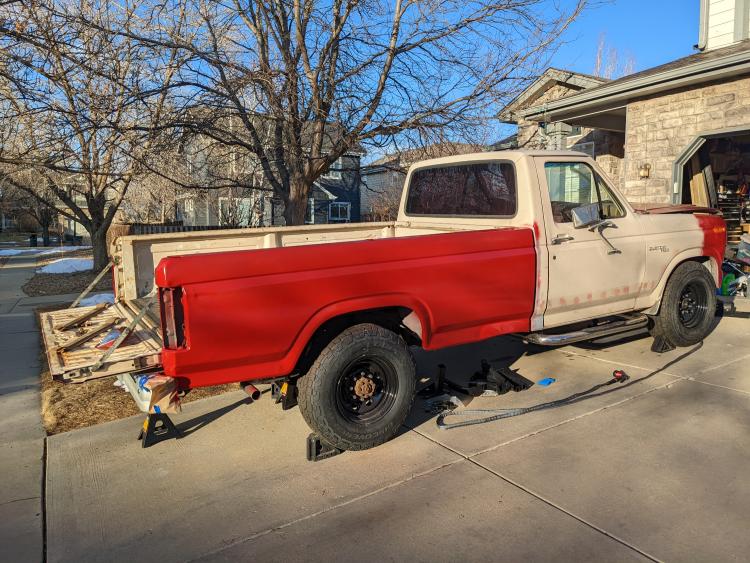
1981 F-250 Custom. 6.6L V8, 4 barrel Holley carb, ARA aftermarket A/C.


 ) It is really hard to get these systems full. Bill's trick is to pull a heater hose off at the heater core as it is the high spot in the system.


 I could grind them off but not that close to a gas tank with unknown vapor. I could fill the tank with water but then I just have 20 gallons of hazmat to get rid of. So I guess I'll try a sawzall with a bimetal demo blade..