Hello everbody! Have a 1986 F350 that I'm fixing up to use for work (welding). It is a regular cab with chassis 4x2, 460 7.5L, Warner T19 and Dana 70HD dually axle. Previous owners did a lot of patch work on electrical. Working on getting all lights to work, fuel sending unit and wipers to work too. Quite a bit of body work to do, too. Other than that chassis is in great shape.
|
Administrator
|
Welcome! Glad you joined.
PR, as in Puerto Rico? I ask because we have a map (Bullnose Forum/Member's Map in the menu) and I'd be happy to add you if I had a city. Patch work on the electrical system sounds familiar. Been doing some of that on Big Blue. Guess you know we have all the wiring on the page here: Documentation/Electrical/EVTM/1986 EVTM. Hope you'll start a thread in the main section and show us some pics. Or, post some here?
Gary, AKA "Gary fellow": Profile
Dad's: '81 F150 Ranger XLT 4x4: Down for restomod: Full-roller "stroked 351M" w/Trick Flow heads & intake, EEC-V SEFI/E4OD/3.50 gears w/Kevlar clutches
|
In reply to this post by ramses
Welcome!
Dane
1986 F250HD SC XLT Lariat 4x4 460 C6-Sold 1992 Bronco XLT 4x4 351W E4OD 1998 GMC Sierra SLE K1500 350 4L60E Arizona |
Administrator
|
Welcome!
|
Administrator
|
In reply to this post by ramses
Welcome!
I'm glad to see another truck of this vintage being put back to work!
Jim,
Lil'Red is a '87 F250 HD, 4.10's, 1356 4x4, Zf-5, 3G, PMGR, Saginaw PS, desmogged with a Holley 80508 and Performer intake. Too much other stuff to mention. |
This post was updated on .
Thanks for the warm welcome.
Bought the truck for work and knew it needed some repairs but as expected the deeper you dig the more you find. Overall, the chassis was in great shape and the engine was working fine. With COVID19 house-arrest thought now's the time to get the work done. Set a tent in front of the house. Started on the back end brushing off rust, applying rust converter and then paint. Painted chassis, fuel tank, muffler covers, exhaust pipes, axle, and rear wheels. During this time I started figuring out the wiring for rear lights. Started by replacing reverse switch and its wiring, removing unnecessary wires added by previous owners. Repairs were done with solder and heatshrink tubing. Later fabricated some mudflap mounts and a rear bumper for new lights. Used a C-purlin I had laying around. Made space for the license plate Closed the back sides but fit the center so water would drain out and to have space for wires to travel. Mounted and painted. Made holes for lights by hand since the 4-1/2" holesaw was dull, but it worked for the template. Then I moved to the cab. That's when it got crazy. The amount of rust blew my mind. |
Administrator
|
Looks good! Lots of work, but it is looking great.
But, apparently the cab is going to be an issue? Would you like to be on our map?
Gary, AKA "Gary fellow": Profile
Dad's: '81 F150 Ranger XLT 4x4: Down for restomod: Full-roller "stroked 351M" w/Trick Flow heads & intake, EEC-V SEFI/E4OD/3.50 gears w/Kevlar clutches
|
In reply to this post by ramses
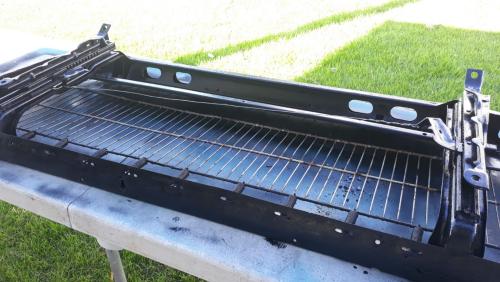
First thing off the cab was the bench seat. Spring bed had rusted out. Previous owner had shoved some closetmaid mesh. Ended up reusing but fitted and attached to the frame.
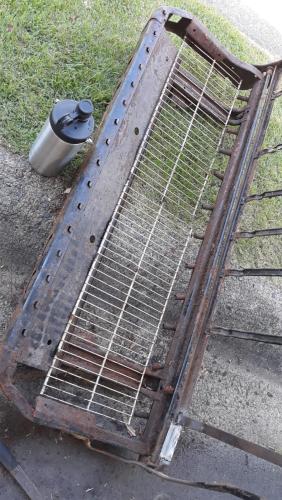
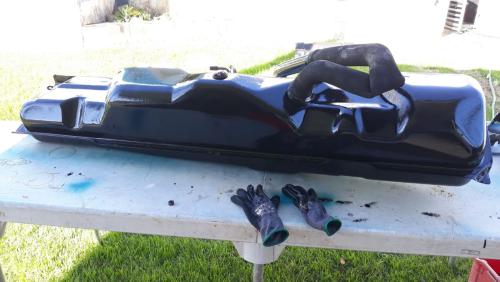
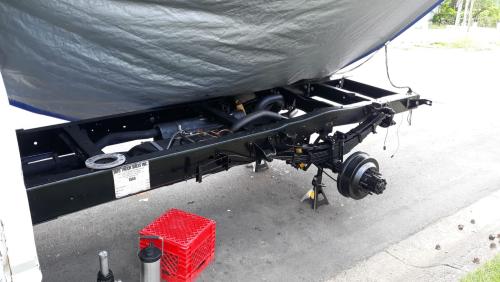
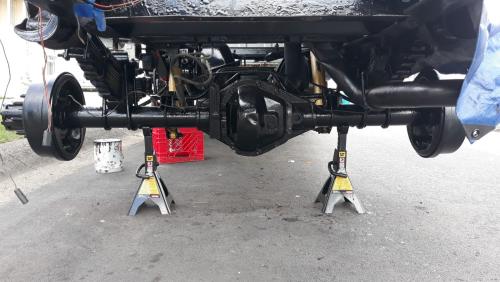
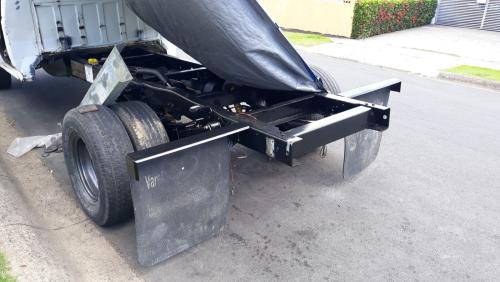
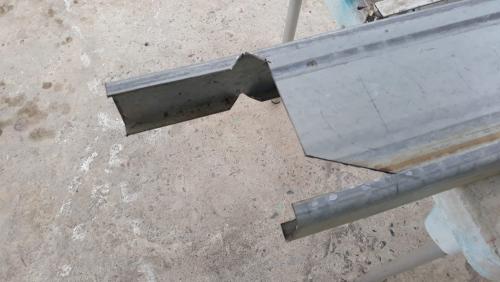
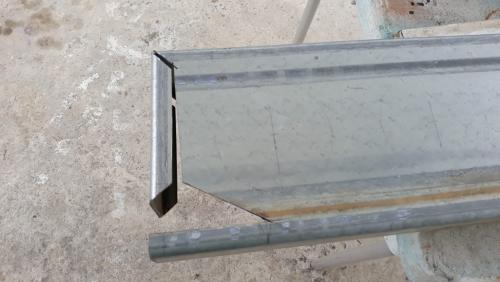
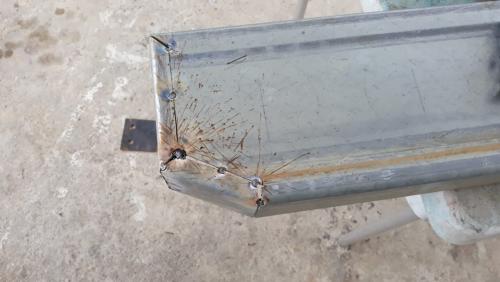
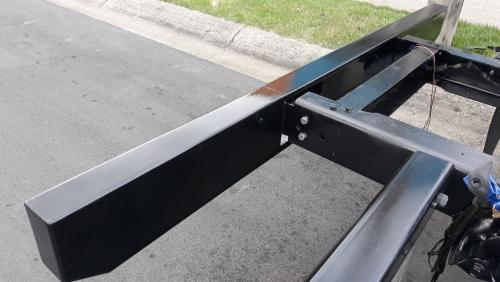
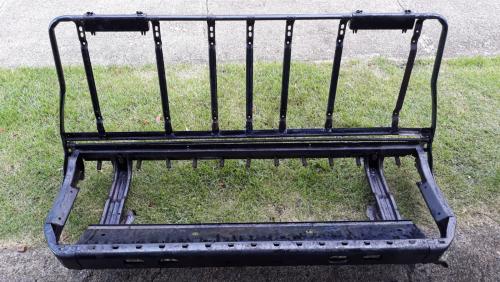
Replaced some rusted and broken parts of the frame. Rust converter and paint. Loosened tracks and installed wire to operate track mechanism. Stored for now until I'm done with the cab interior. 
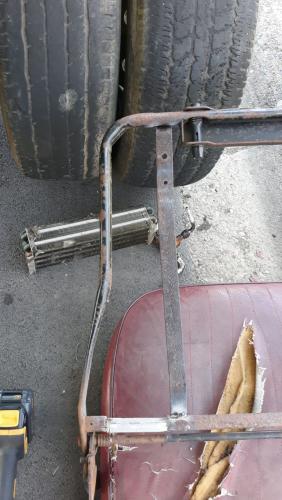
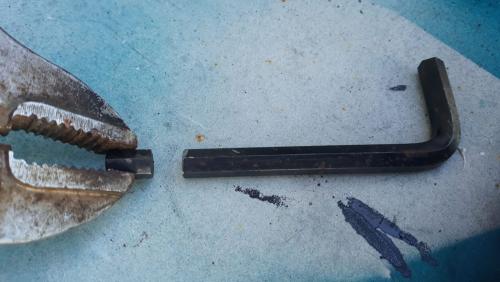
Didn't have 5/16" hex socket to remove side bolts of seat frame so had to cut tip of hex key to use with regular 5/16 socket. Those bolts were seized too. Heated them up and still had to use impact drill. 
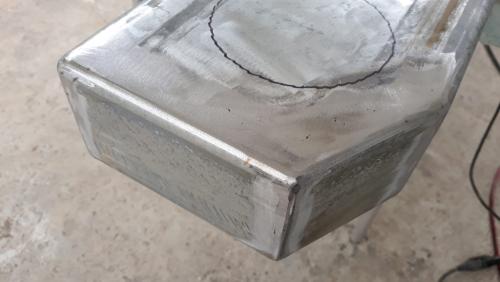
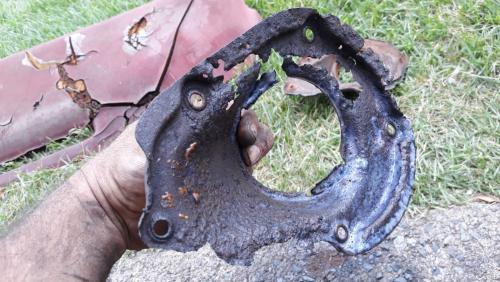
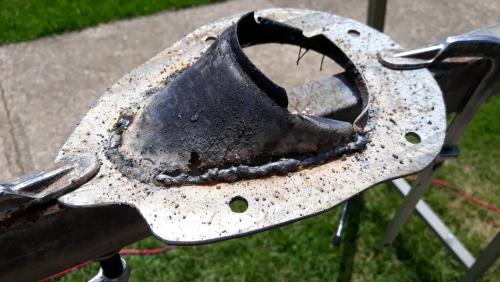
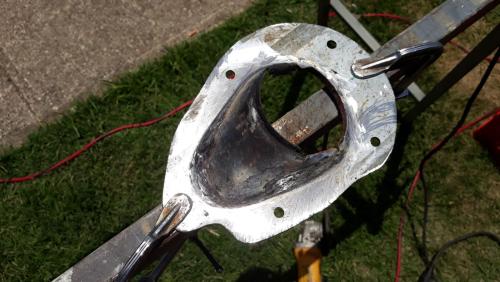
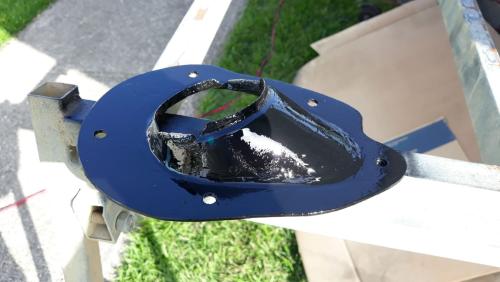
One of the parts in worst condition was the steering column firewall mount. Hard to find, so made a flange and slowly welded the cone section to it. Had to grind carefully, reweld and regrind, but it ended up nice. 
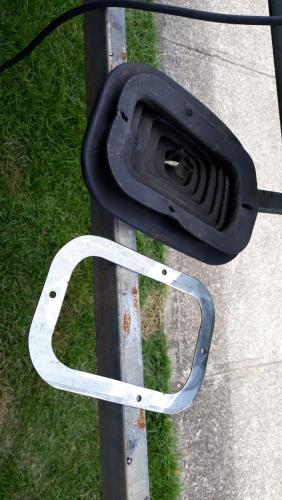
Also made some flages that were missing 
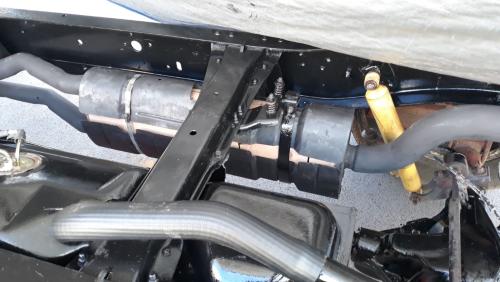
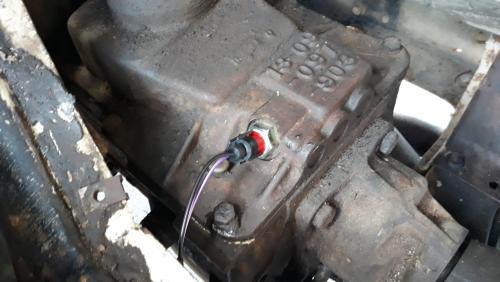
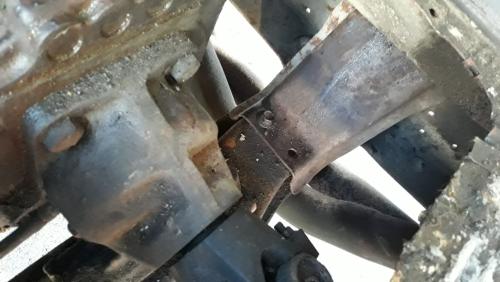
And reinstalled four (4) missing bolts and two (4) nuts on the transmission crossmember 
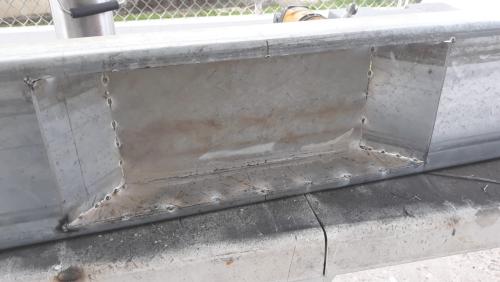
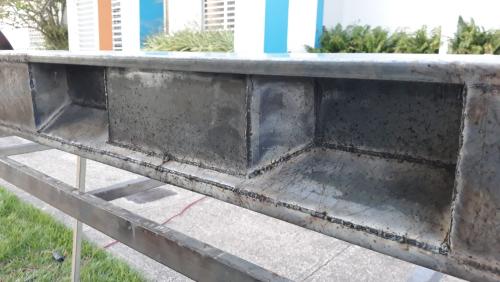
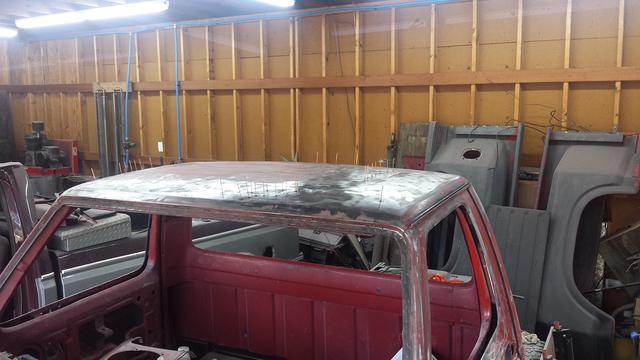
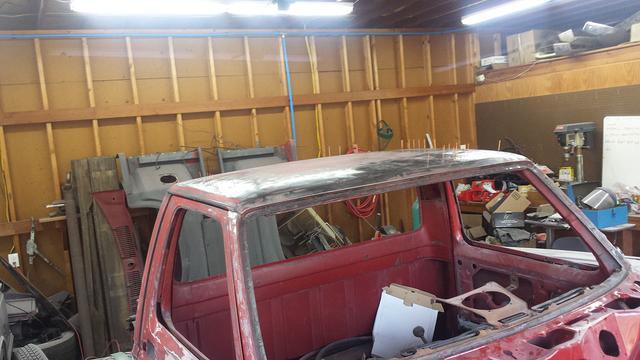
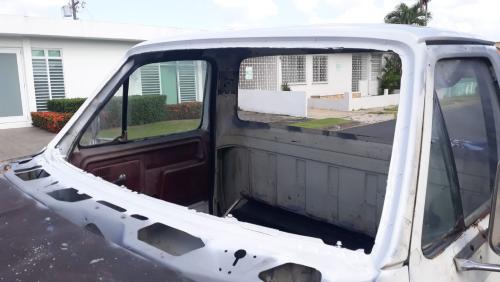
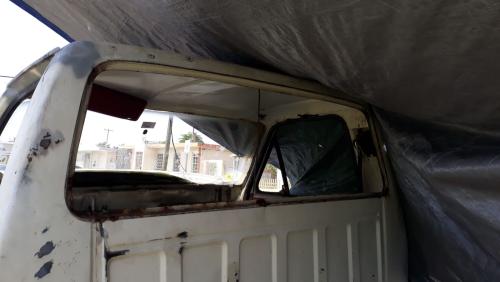
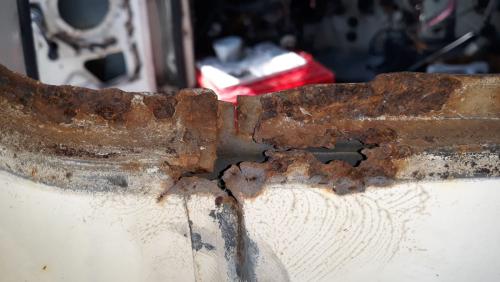
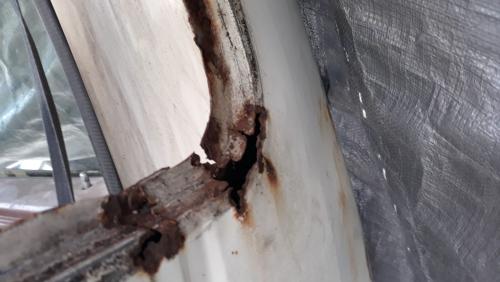
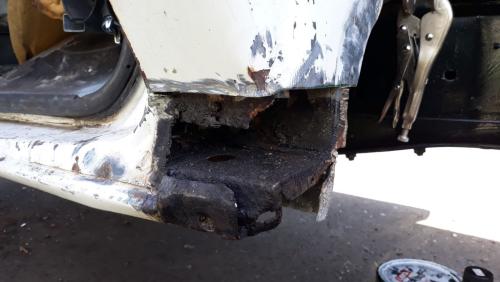
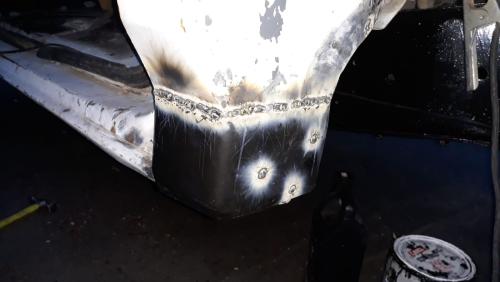
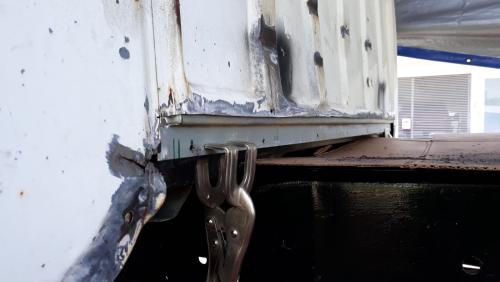
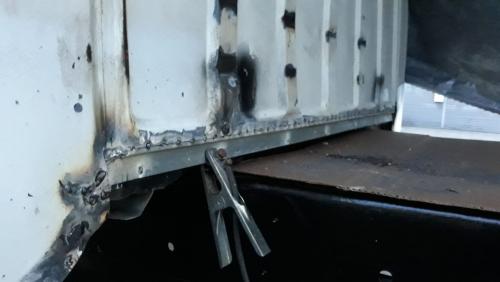
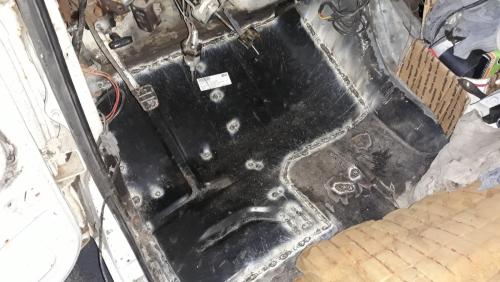
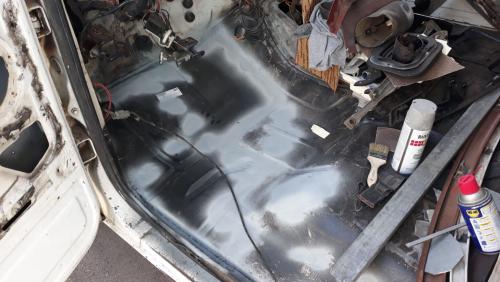
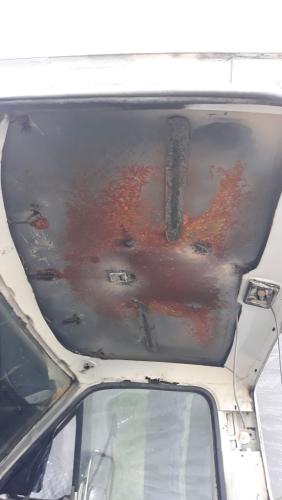
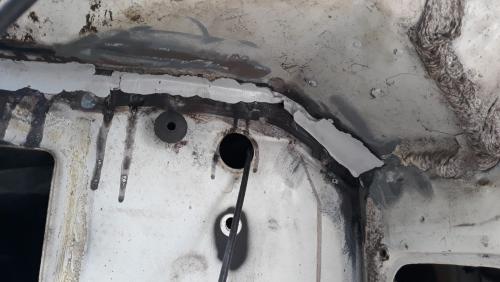
So the roof was badly warped, had a bunch of holes and the top corners had no seam sealer (guess it cracked and fell off) but water was getting everywhere, especially the rear glass frame, bottom cab corners and the entire back panel. The driver's side floor pan was also shot. Doing body work and welding sheet metal was new to me. Did a lot of research and watched many youtube videos. Honestly didn't want to get to this point but figured if its not done now the rest of the repairs would be for nothing. So got in there and did my best. As I was cutting and replacing covered all I could with rust converter. It's not showrom quality, but all I wanted was to take rust out and have it look decent for a work truck. So all in all, feeling proud of how it turned out. 
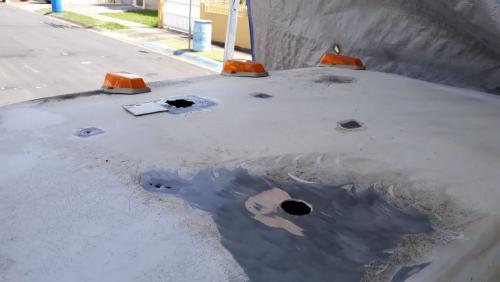
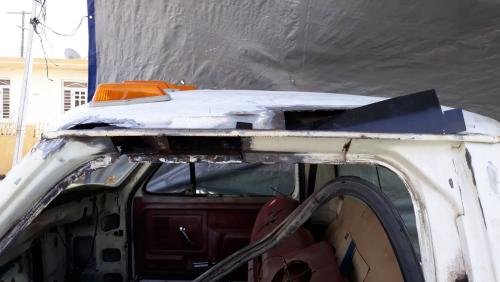
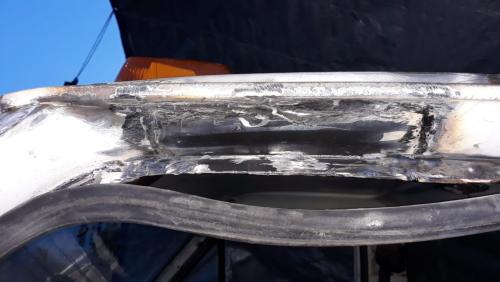
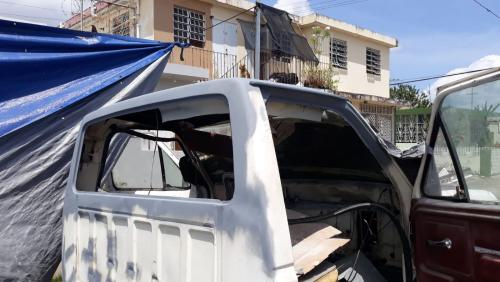
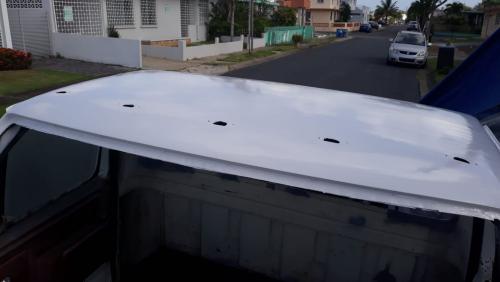
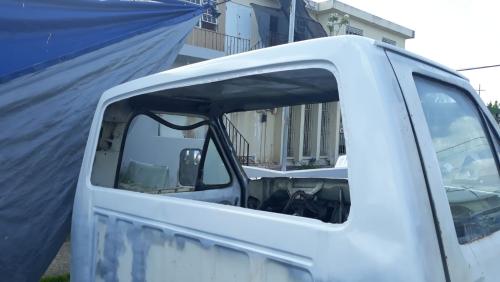
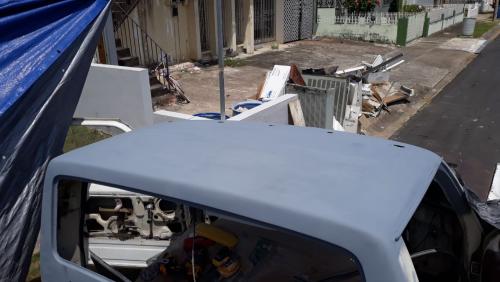
Finally the roof, as I sanded it down there was so much body filler it was scary, but I couldn't reach underneath. So reluctantly cut out the inner roof. But now I could hammer and dolly the outer shell and prep the area around the cab lights. Its now on primer ready for paint. But first I'll reinstall the inner roof so no welding spatter would mess up the paint. 
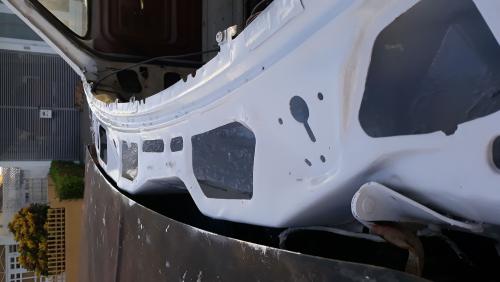
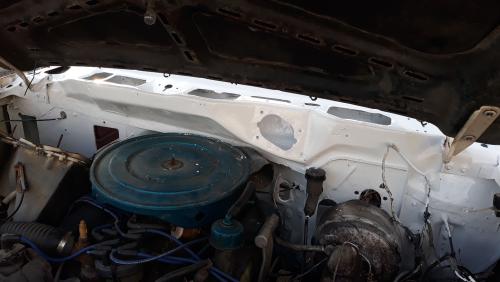
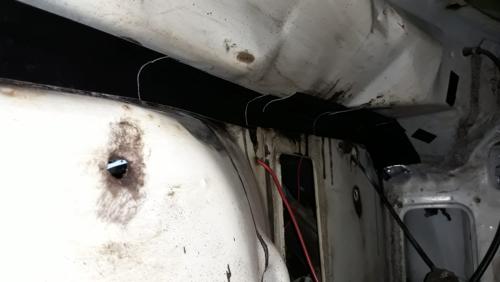
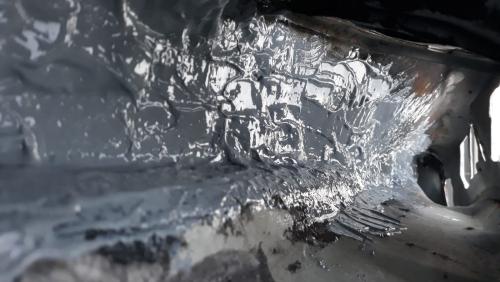
The other big problem area was the cowl trough which had completely rusted out one end to the other, between 1/4" to over 1" gap. Ended up using epoxy to fix it following suggestions from another threat in the forum (sorry dont know how to add the link yet). But after removing the entire dash, scraping loose rust and adding rust converter, made a dam with gorilla tape, spread epoxy on top, and when it cured, removed tape and spread underneath. As I took the dash out, I also gave some care to the dash frame, pedals, and anything that had any rust on it. Wire brush, rust converter and paint. Next on the list is finishing the inner roof so I can get going on painting the roof and glass frames. The front glass needed replacing anyway. Once glass and cab lights are reinstalled, I'd say the cab should be watertight and the interior can go back in. Then come the doors. Will keep posting. |
In reply to this post by Gary Lewis
Absolutely. I'll take all the help I can get.
|
Administrator
|
Man, you are really making progress! I'm impressed.
As for the map, do you have a city where you'd like to be shown?
Gary, AKA "Gary fellow": Profile
Dad's: '81 F150 Ranger XLT 4x4: Down for restomod: Full-roller "stroked 351M" w/Trick Flow heads & intake, EEC-V SEFI/E4OD/3.50 gears w/Kevlar clutches
|
Administrator
|
You are on the map.
Gary, AKA "Gary fellow": Profile
Dad's: '81 F150 Ranger XLT 4x4: Down for restomod: Full-roller "stroked 351M" w/Trick Flow heads & intake, EEC-V SEFI/E4OD/3.50 gears w/Kevlar clutches
|
Sweet! First one in PR
|
Administrator
|
In reply to this post by ramses
Your welding skill is really apparent, especially on sheet metal using flux!
Glad to see you're making good use of the Covid downtime. I wish I could say as much.
Jim,
Lil'Red is a '87 F250 HD, 4.10's, 1356 4x4, Zf-5, 3G, PMGR, Saginaw PS, desmogged with a Holley 80508 and Performer intake. Too much other stuff to mention. |
Very nice work!
Sam
1984 F250. 460. C6. 4x4. MSD Ignition. Airbag rear suspension Whole buncha problems |
Administrator
|
Very impressive!
|
I saw what you did with the column flange and then you said you were worried about body work welding
I knew you had the skill before you started the body work welding part. As for cutting that inner roof out I bought a stud welding gun kit to pull dents. My roof looked like some one walked on it, used a screw in dent puller and then filled with body filler. Rust was under the filler and making it crack so it all had to come off and that is when I found the dents. They were so bad it bent the inner roof down. You can just make out the studs welded to the roof You are doing a great job Dave ----
Dave G.
81 F100 flare side 300 six / AA OD / NP435 / 2.75 gear http://cars.grantskingdom1.com/index.php/1980-Ford-F100?page=1 81 F100 style side 300 six/SROD parts truck -RIP http://cars.grantskingdom1.com/index.php/1981-Ford-F100 |
Thanks guys.
Since I usually weld thicker material where warping is not as big an issue, I was worried. But after setting up the welder right it worked out. Very good vids on youtube helped a lot. |
So this morning I was able to give the roof and glass frames a first coat of paint. Got to say it felt great to finally be painting.
Waiting on a care package from Scott (thanks again, man!) with clips to install cab markers. Once they are in, and the front and rear glass, the cab should be water tight. Then on to reinstalling interior. Getting ready for that I painted around the cab interior, but got too dark for a picture. However I was able to paint the cowl trough and the firewall. Still need to weld and finish two patches inside the cab, but should get those done tomorrow. On the interior, one thing that I worried about is reinstalling the steering column. When I took it out the inner rod was loose (?) and couldn't see how it came apart, so I don't know how it goes back together exactly. But there are a lot of other stuff I can get done before tackling that. |
Administrator
|
Looking good! Well done.
On the steering column, we have the instructions for it here: Documentation/Interior/Steering Columns.
Gary, AKA "Gary fellow": Profile
Dad's: '81 F150 Ranger XLT 4x4: Down for restomod: Full-roller "stroked 351M" w/Trick Flow heads & intake, EEC-V SEFI/E4OD/3.50 gears w/Kevlar clutches
|
Edit this page |