kramttocs wrote
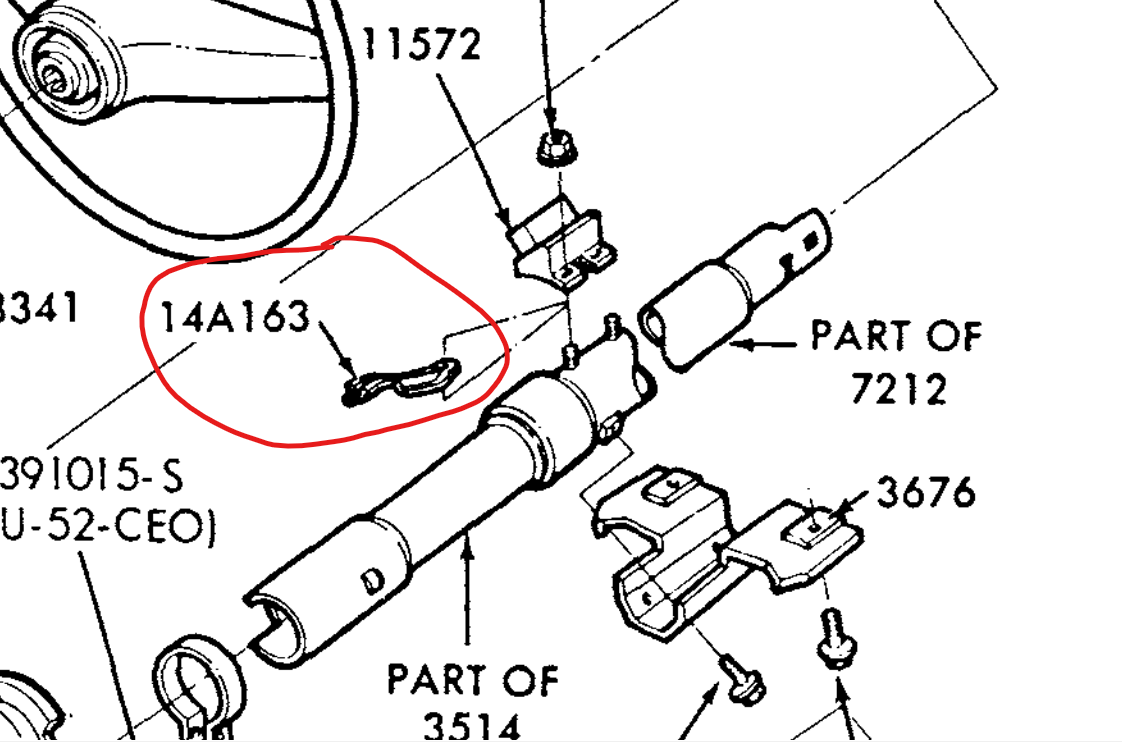
The diagram isn't great for sure. In the connector there is a slot and it slides over the narrow end of this bracket. Due to the way everything is being forced/twisted, I've seen a number of the connectors where one lip of the slot has been snapped off (plastic losing to metal).
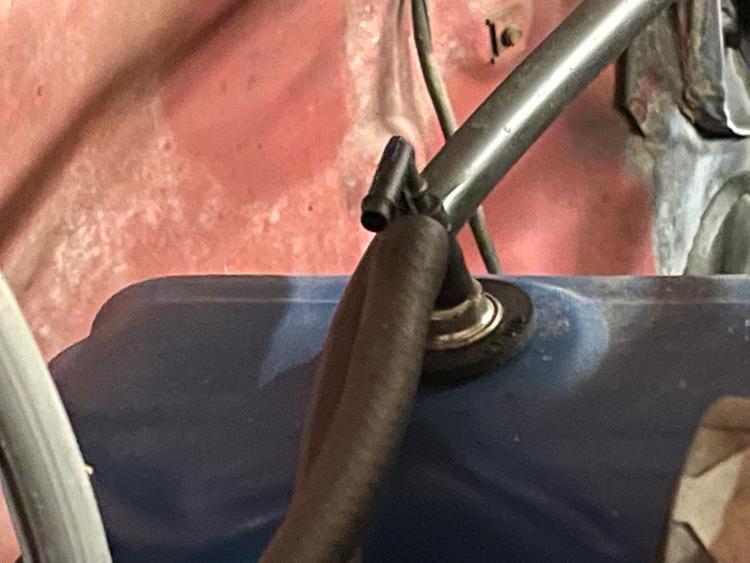
Winner, winner, chicken dinner! Behold my C305A:

That bit of broken plastic is exactly where it would have clipped on to the mystery bracket. I'm sure it's been broken for years and the truck runs fine, so I left the bracket off and finished bolting down the ignition switch. Testing showed that the windshield wipers, washer, fuel gauge and temperature gauge are all back to normal, so this one is mission accomplished. As an added bonus, the spring pressure returning the key to 'run' from 'start' is much better - previously it felt very weak, and in cold weather wouldn't always return the key to position without a little assistance. It's much more authoritative now.
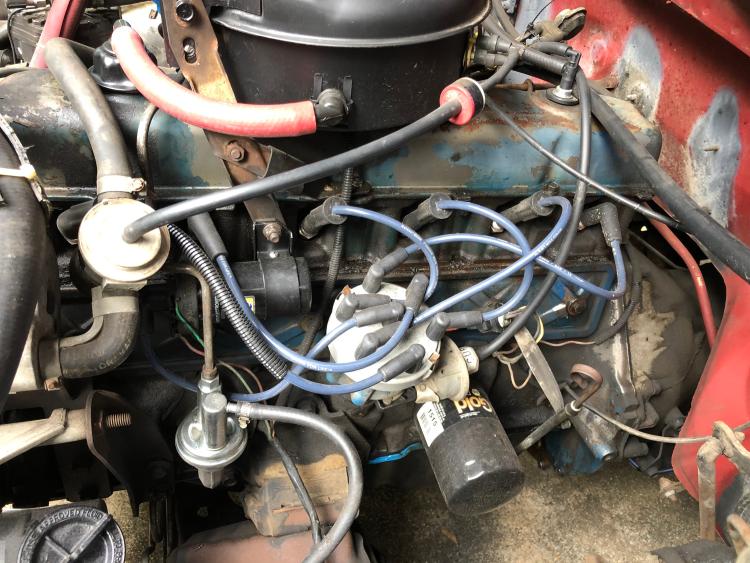
Took care of some other things today as well...one thing I noticed while working on the ignition switch was this:
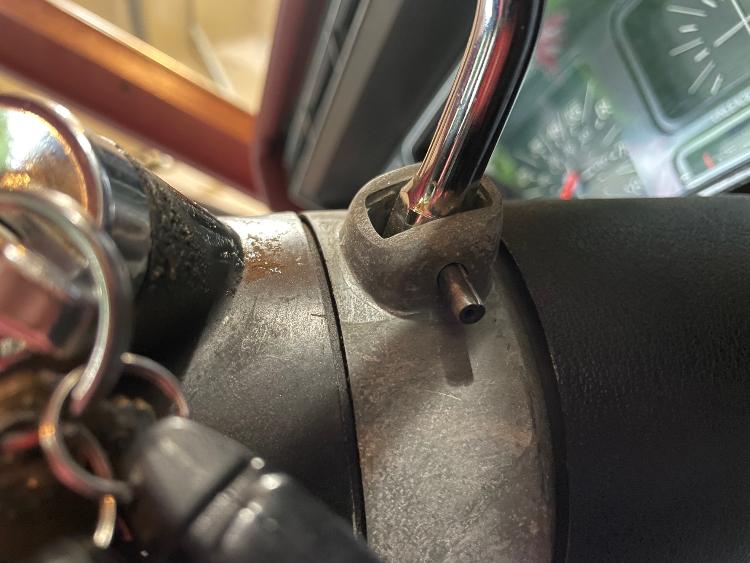
That's the roll pin holding the gear selector to the column, and apparently it's been backing out. This happened once before about 10 years ago, and I didn't notice until the selector fell into the floor while I was driving. I'll need to keep an eye on this.
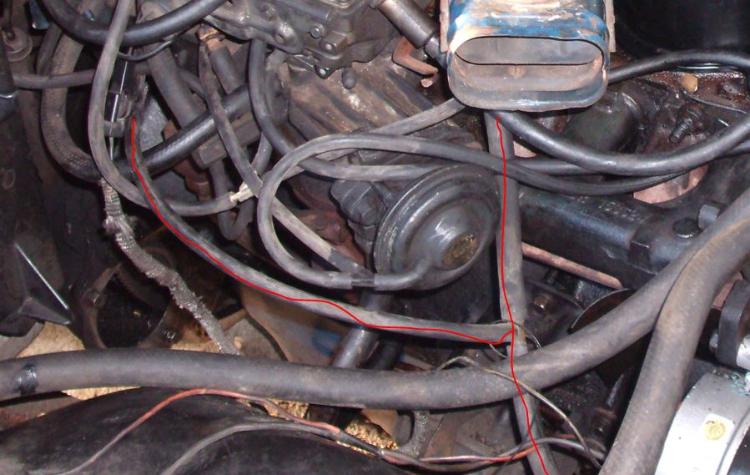
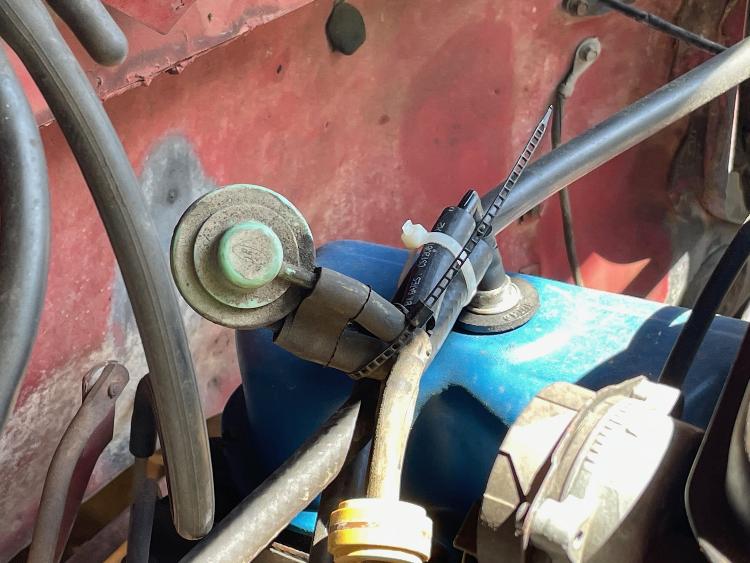
I also cleaned up my Duraspark modules - at one point I had three in there, although recently it's been down to two. But now it's just one shiny new Motorcraft replacement, and I added a few washers under it to hopefully provide a little better airflow underneath. Driving all day to Skiatook in the summer heat is what killed my original module, hopefully this one will fare better.
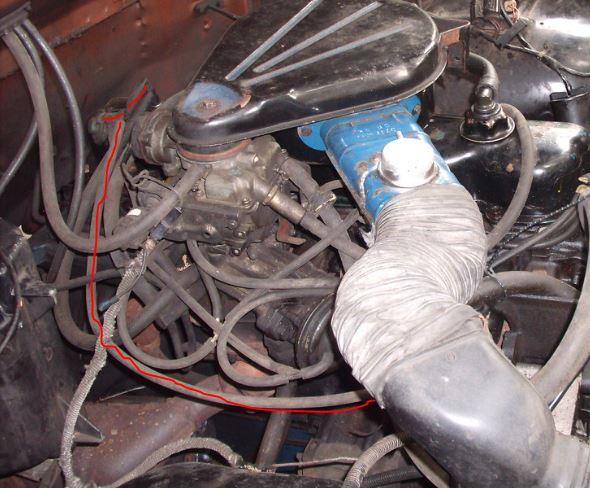
And while I was working on that I discovered this:
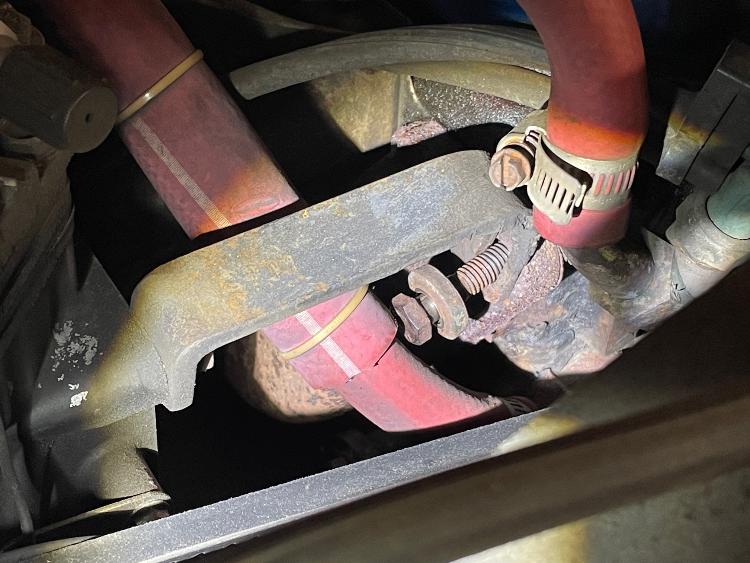
Those of you with good memories will recall this is the manifold bolt that was loose that caused the weird rattling noise from my A/C compressor to propagate through the exhaust system. I tightened it back down this evening, although now that I think about it that thick washer is probably the problem - the added thickness of the compressor bracket is probably reducing my thread engagement. I'll remove it if I get around to it, otherwise I'll just do a better job of keeping it tightened down.
Finally, new windshield wiper blades went on. And with that, the to-do list looks like this:
Air and fuel filter replacementOil changeWindshield wiper replacement- Brake fluid check/possible replacement
- Engine coolant replacement
- Hood realignment
- Radio antenna repair
Ignition switch replacementDuraspark module cleanupFix loose manifold boltFix gear selector roll pin- Carb adjustment/tuneup
- Tire check & rotation
- PCV valve/vacuum leak
That last item is new - stay tuned for the next post for details.
Matthew
1980 F-150 Custom 2wd longbed, 300-6, C6, 2.75 rear axle
Atlanta GA